⚛️+📦React+Dao3(Arena) 在岛三中使用类似 React 的框架写 Client 端 UI(基于 Preact)
- 请确保你已经配置好 VSCode 插件
ArenaPro并安装好Node.js
npm install --save dao3-aui- 将
client/src/clientApp.ts改为client/src/clientApp.tsx - 将
dao3.config.json中的client->entry改为src/clientApp.tsx(类似下面这样)
{
    "client": {
        "base": "./client",
        "entry": "src/clientApp.tsx",
        ...省略...
    }
}需要在compilerOptions中加入一些jsx/tsx相关的配置
{
    "compilerOptions": {
        // ...省略...
        "noImplicitAny": false,// 这四行是要添加的内容
        "jsx": "react",
        "jsxFactory": "AUIApp.h",
        "jsxFragmentFactory": "AUIApp.frag"
        // ...省略...
    }
}那我们先来一个Counter示例吧!点击一个按钮,数字会随之增加。
- 文件
client/src/clientApp.tsx
import { AUIApp, hooks } from "dao3-aui";
// 创建一个AUIApp实例
let aui = new AUIApp();

// 这个就是入口点的组件,渲染从这里开始
function App() {
  const [count,setCount]=hooks.useState<number>(0);
  return (<>
    <ui-text x="0" y="0" height="50px" width="200px"
      background-color="#ffffff" background-opacity="100%"
      onClick={()=>setCount(count+1)}
      text-content={"点击次数:"+count.toString()+"次"}></ui-text>
  </>)
}
// 挂载到屏幕上
aui.mount(<App />, ui);Alt+Q使用ArenaPro构建上传代码到岛三。
如果你的 岛三编辑器(Arena) 中clientIndex.js还没有配置好运行apbundle的代码,请在clientIndex.js中贴入以下代码:
import "./_client_bundle.js"点击运行按钮。你会发现左上角有一个按钮:
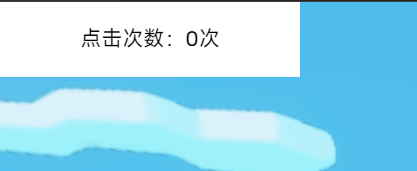
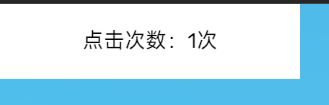
点击它,数字会变化:
快速上手就到这里。
<ui-text></ui-text>UiText<ui-image></ui-image>UiImage<ui-box></ui-box>UiBox<ui-input></ui-input>UiInput是的,真的支持
- 标签的属性是把 驼峰式的属性名 改为 横线分隔的属性名 ,例如:
backgroundColor->background-color等等。
// textContent要改为text-content
<ui-text text-content="hello world"></ui-text>- 特殊的属性转换
color类别的属性,接受css颜色,例如#ffffff(16进制)或者rgb(255,255,255)(rgb)的参数opacity类别的接受百分比,形如100%的参数anchor接受两个百分比,形如100%,100%的参数,表示锚点位置x,y,width,height接受offset(px)+scale(%),形如100px,10px+20%,100%等的参数- ...(以后继续完善这里)
- 事件绑定
目前实现的事件有:
onClick适用于所有ui元素onInput仅适用于ui-input
import { AUIApp, hooks } from "dao3-aui";
let aui = new AUIApp();

function App() {
  const [count,setCount]=hooks.useState<number>(0);
  return (<>
    <ui-text x="0" y="0" height="50px" width="200px"
      background-color="#ffffff" background-opacity="100%"
      onClick={()=>setCount(count+1)}
      text-content={"点击次数:"+count.toString()+"次"}></ui-text>
  </>)
}
aui.mount(<App />, ui);import { AUIApp, hooks } from "dao3-aui";
let aui = new AUIApp();
function App() {
const [name,setName]=hooks.useState("you");
return (<>
<ui-text
x="0px" y="0px" height="50px" width="200px" text-content={"say hello to " + name}
background-color="#ffffff"
background-opacity="100%"
></ui-text>
<ui-input
x="0px" y="50px" width="200px" height="50px" placeholder="your name here"
onInput={(e)=>setName(e.target.getAttribute("text-content"))}
text-content={name}
></ui-input>
</>);
}
aui.mount(<App />, ui);