Export Raster Layers to MeshLab
RTAB-Map >=0.10.5 required
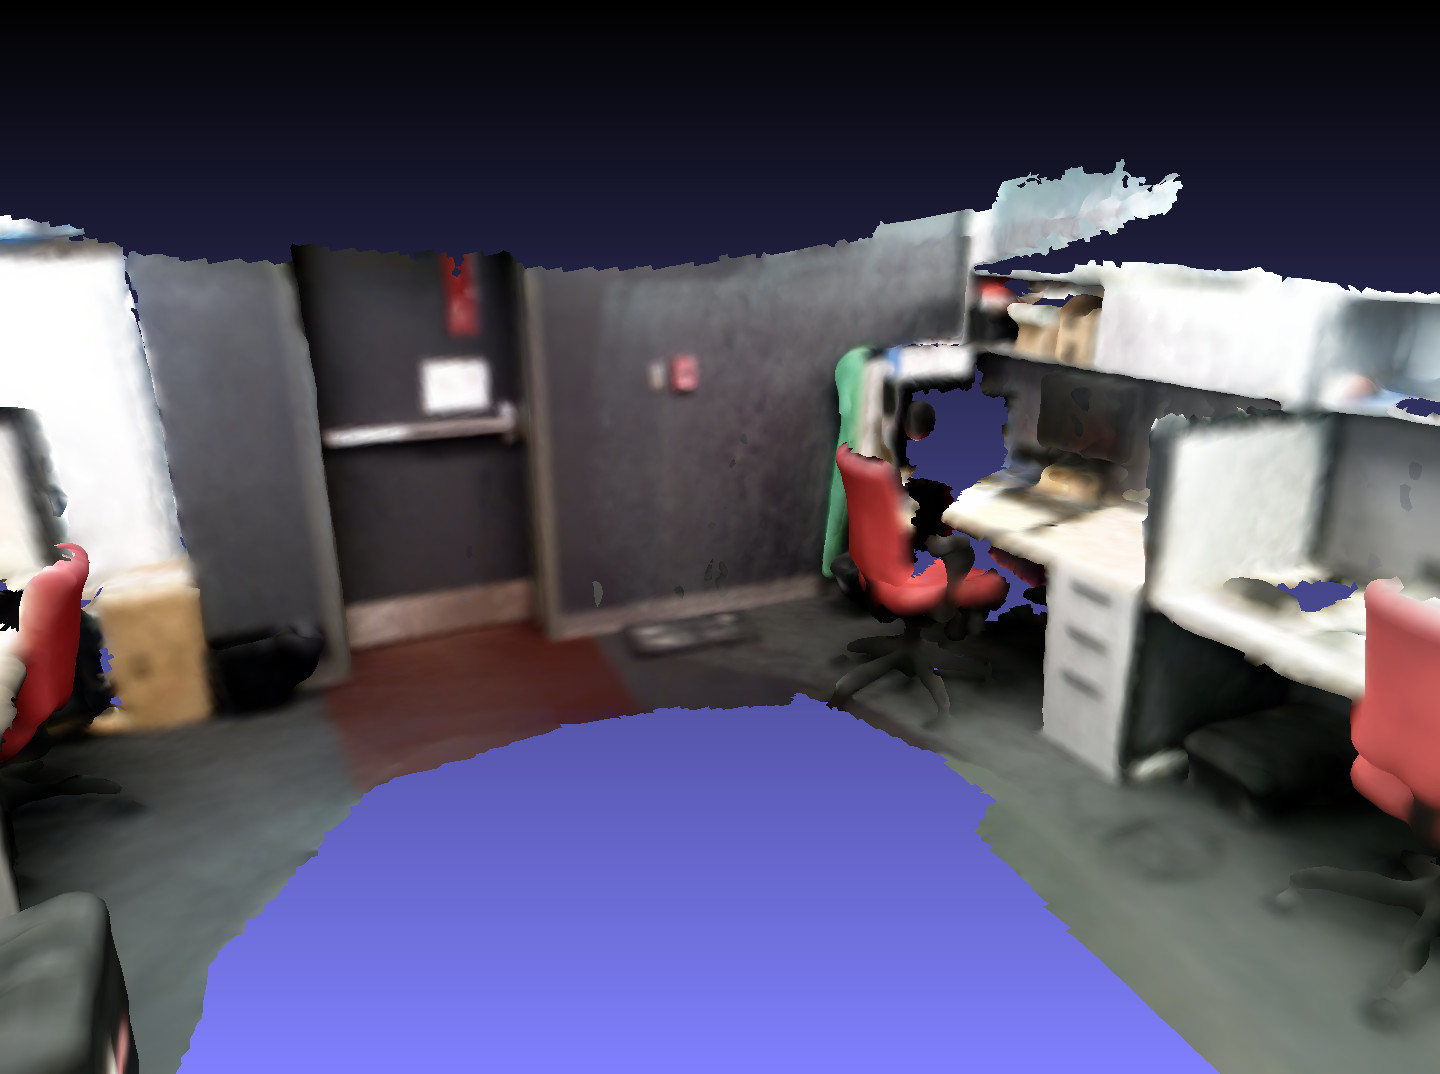
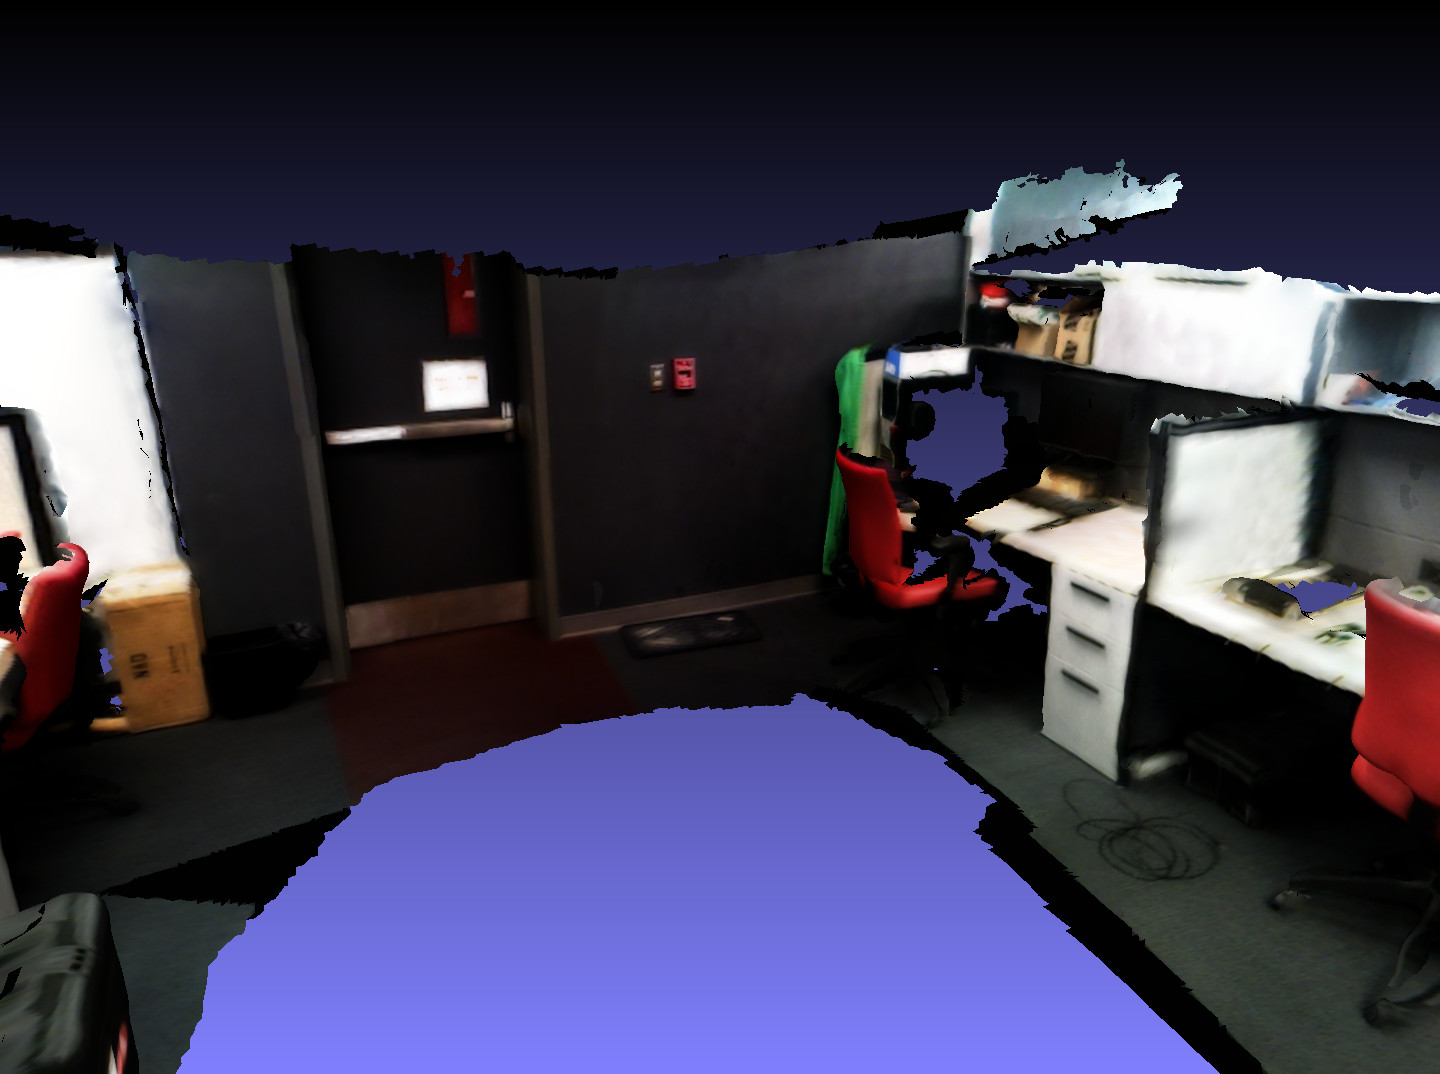
The goal of this tutorial is to export a low resolution mesh and cameras to MeshLab so we can generate a texture for the mesh. For convenience, I provide a mapping session, but you can try it with your own maps. The mapping session was done using the default parameters of RTAB-Map with a Xtion Live Pro using factory calibration (which has some distorsions over 3 meters). Here is an example of the results from this tutorial (without and with texture):
Here is an example of meshing with MeshLab without texturing: https://www.youtube.com/watch?v=N3YlncWbMto
-
Download this database: 2loops_workspace_3IT.db
-
Open RTAB-Map
-
Reset all parameters to default settings (Window->Preferences->General Settings (GUI)->Reset all settings)
-
Open the download database
2loops_workspace_3IT.db -
Click on "Download all clouds (update cache)". Click
OKfor "Global map optimized". In the 3D Map view, you should see the point cloud like this: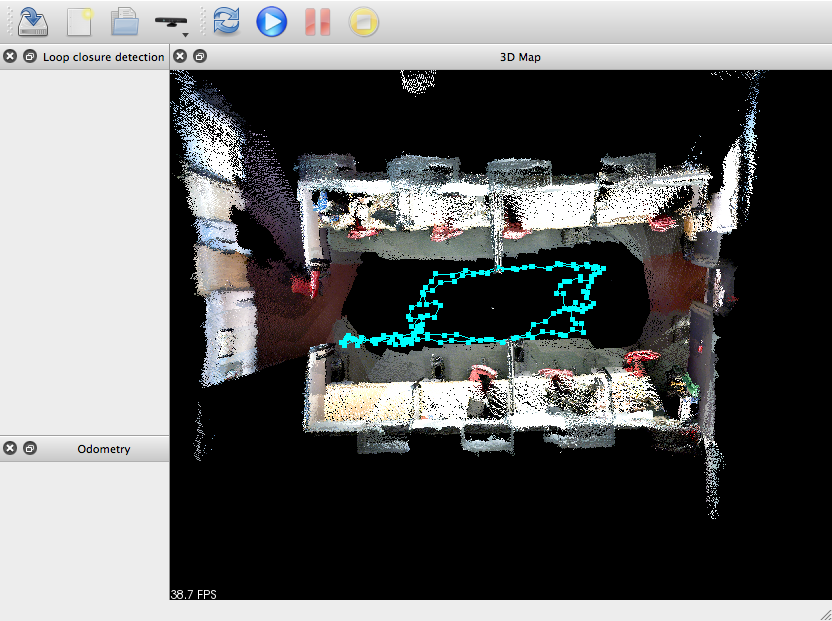
-
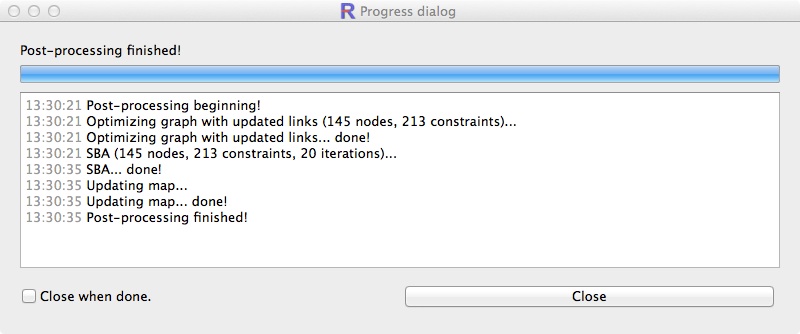
Optional We will do a post-processing of the map to make it more straight. To do that, click on Tools->"Post-processing...". Set the parameters as below and click
OK. Sparse Bundle Adjustment (SBA) will optimize the map with the camera positions and the matching visual features between the cameras. You will then get the point cloud as the third image. In some cases, the results may be worst with SBA, to revert post-processing, just click on Edit->"Download graph only" (with global optimized option). Detecting more loop closures give generally good results. If the environment has a lot of geometry, you can refine the links with ICP.

-
We will now export the cameras. To limit the number of cameras exported, open the Preferences menu and under 3D Rendering, set the node filtering parameters as this and click "OK" (note that in latest versions, it is called "Pose filtering" under Cloud Filtering panel):

-
Click on File->"Export cameras in Bundler format (*.out)..."
-
Create a directory
bundlerand select it. The exported format is the one used by Bundler and MeshLab can import it. -
On older versions, you will be asked to export the cloud/mesh, press "No" as we will export the mesh using more cameras in the next steps. Now you should have the
bundlerdirectory filled withcameras.out,list.txtandimagesdirectory. -
Open Preferences dialog again under 3D Rendering panel and uncheck "Node filtering", then press "OK":

-
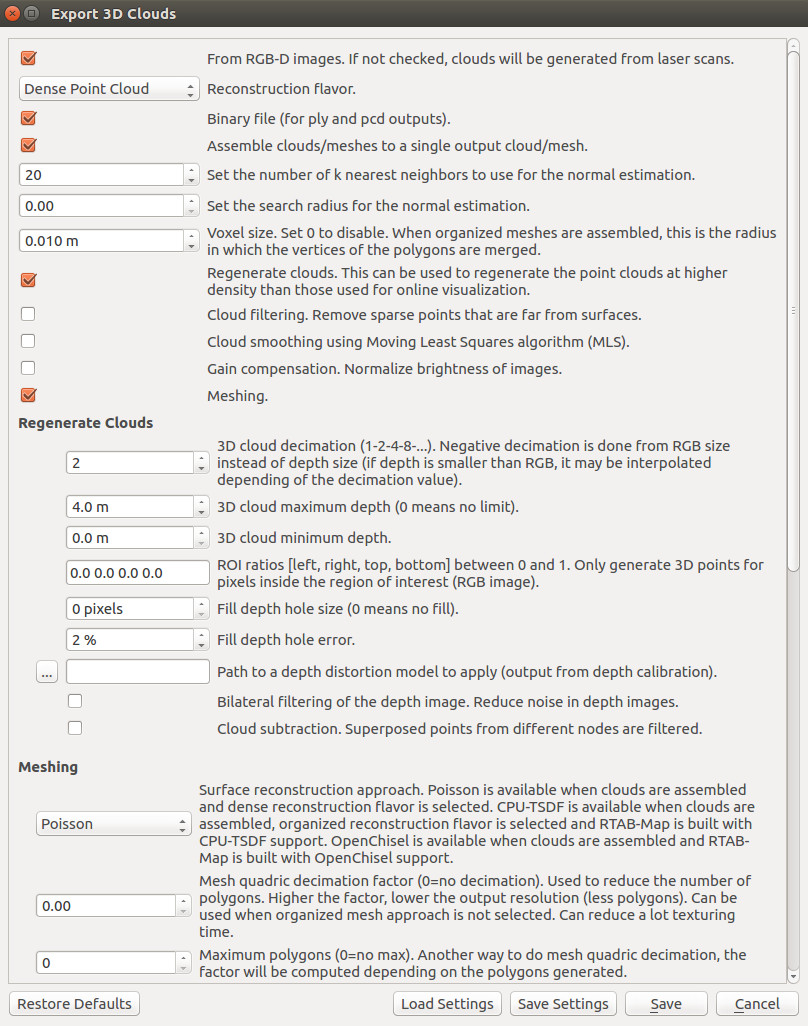
Click on File->"Export 3D clouds...". Restore settings, then configure the Export 3D clouds dialog like this:
-
Wait until the generation of the mesh is done and save it (
mesh.ply) in thebundlerdirectory created previously: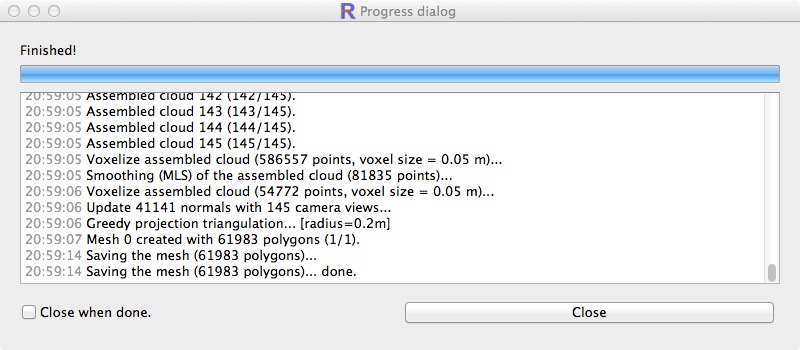
-
Open MeshLab (use latest version if possible so that instructions below match, tested on v2016.12)
-
Click "Open project"
-
In the "Open project file" dialog, select
cameras.outinside the exported directory above. -
In the "Open image list file" dialog, select the
list.txt. -
Click "Import mesh" and select the
mesh.plygenerated by RTAB-Map: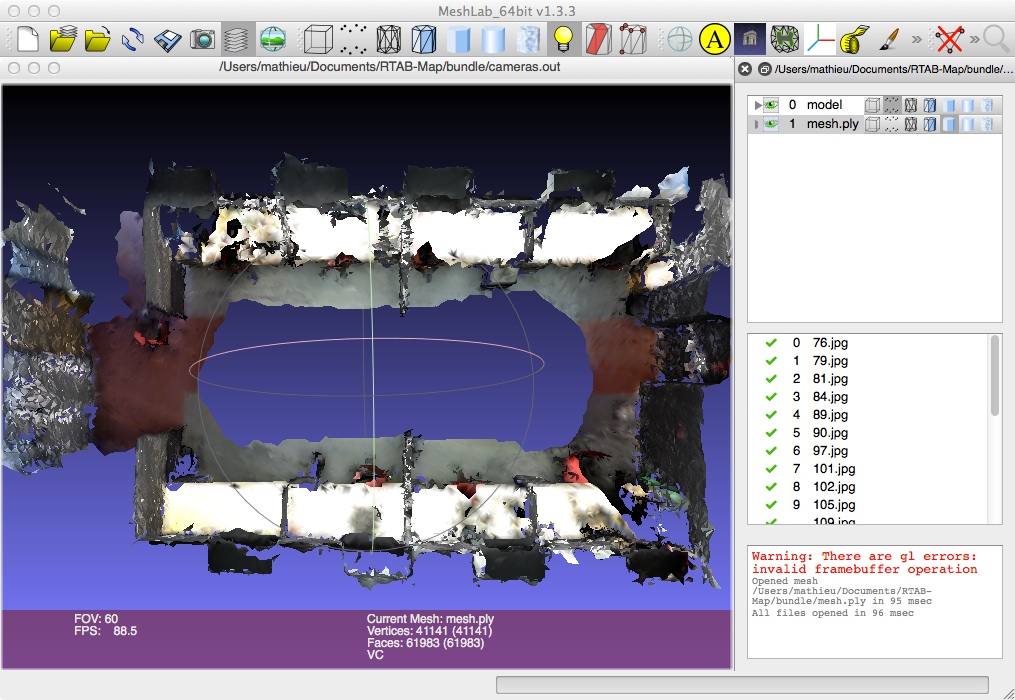
-
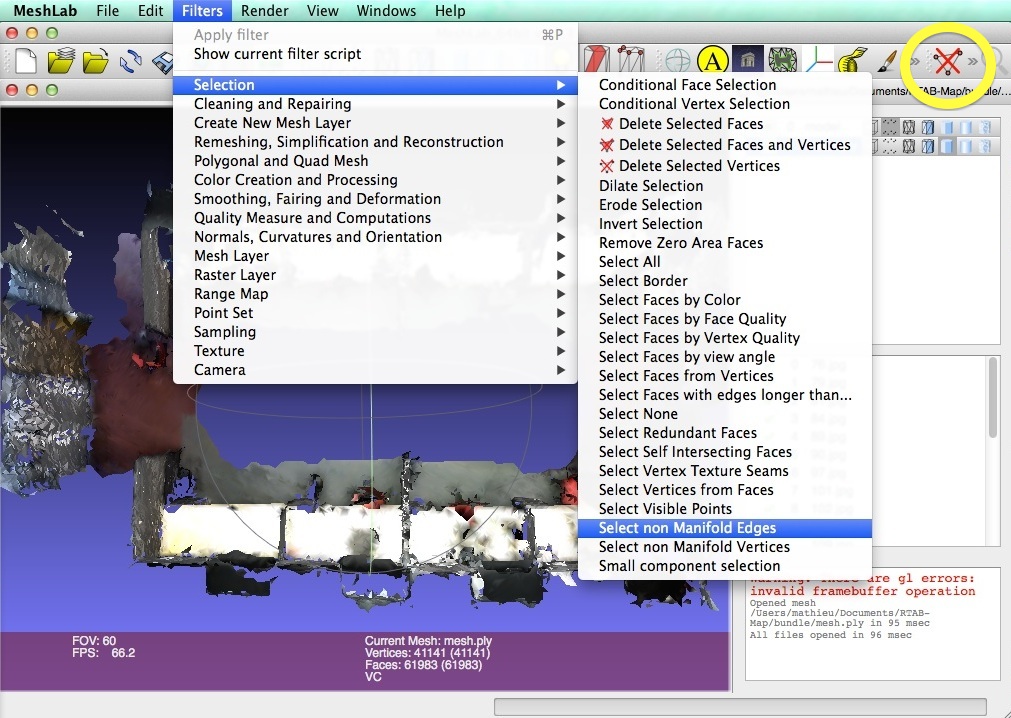
Generating a texture requires that the model has only "manifold" edges. So remove them by clicking on Filters->Selection->"Select non-Manifold Edges", then click "Apply" and click on button "Delete current selected vertices..." (the one in the yellow circle below):
-
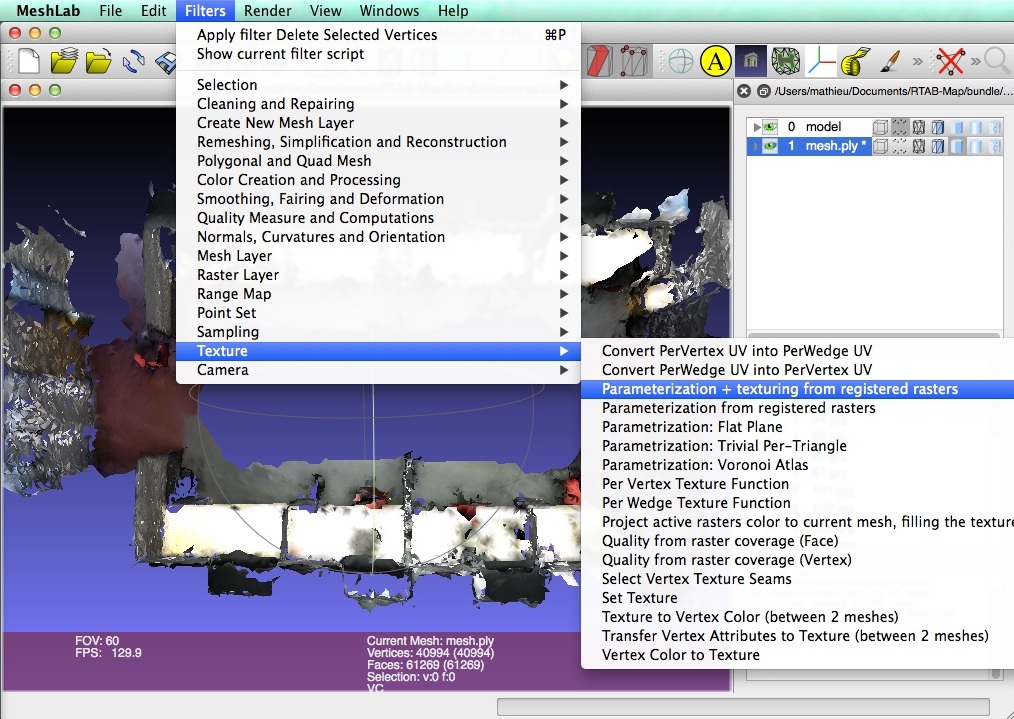
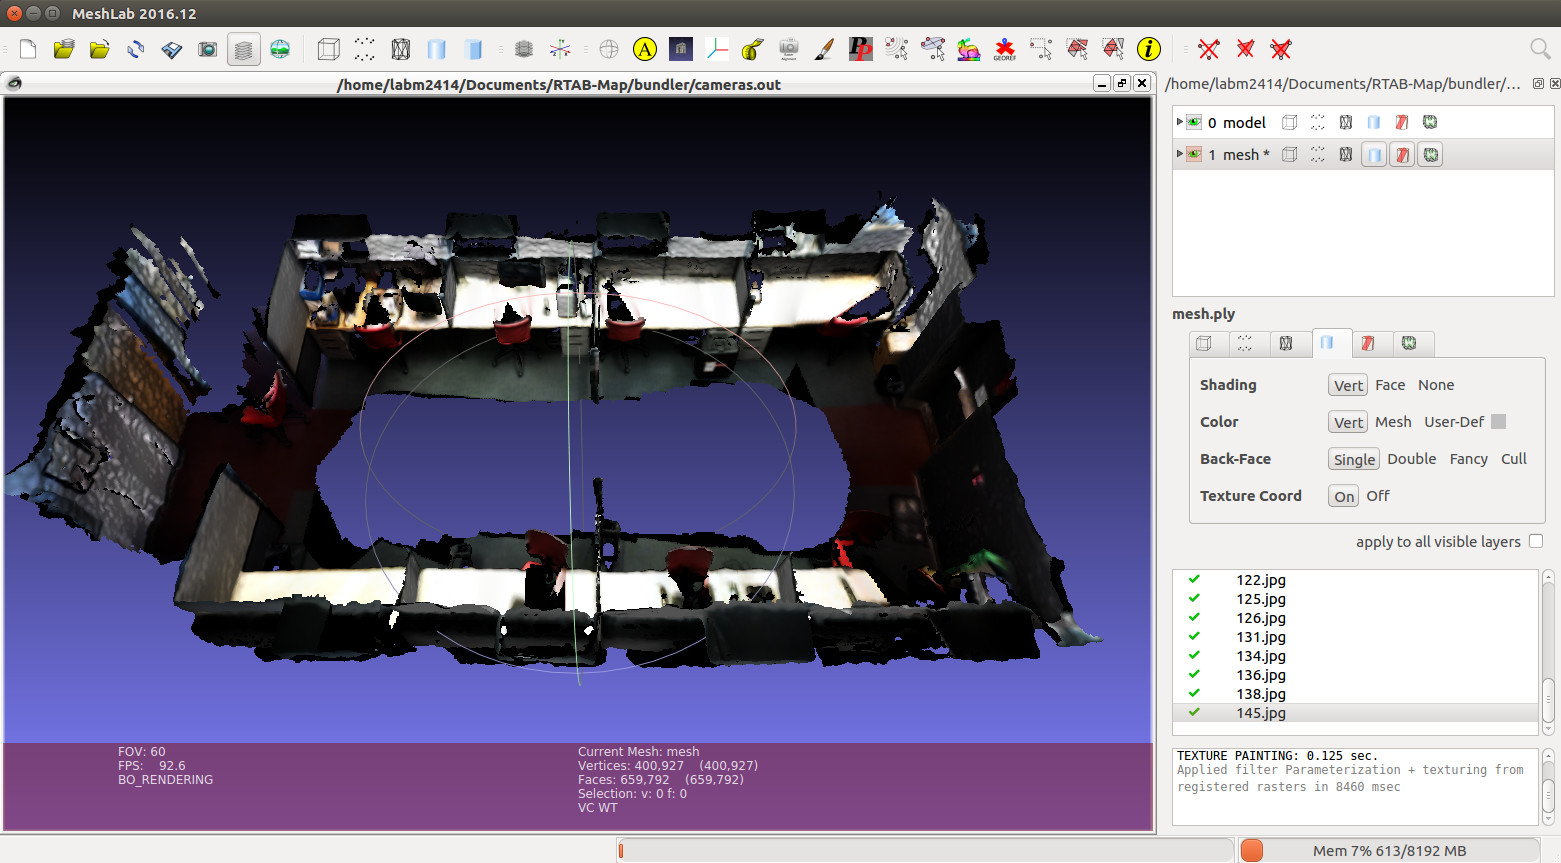
Generate the texture by clicking on Filters->Texture->"Parametrization+texturing from registered rasters":
-
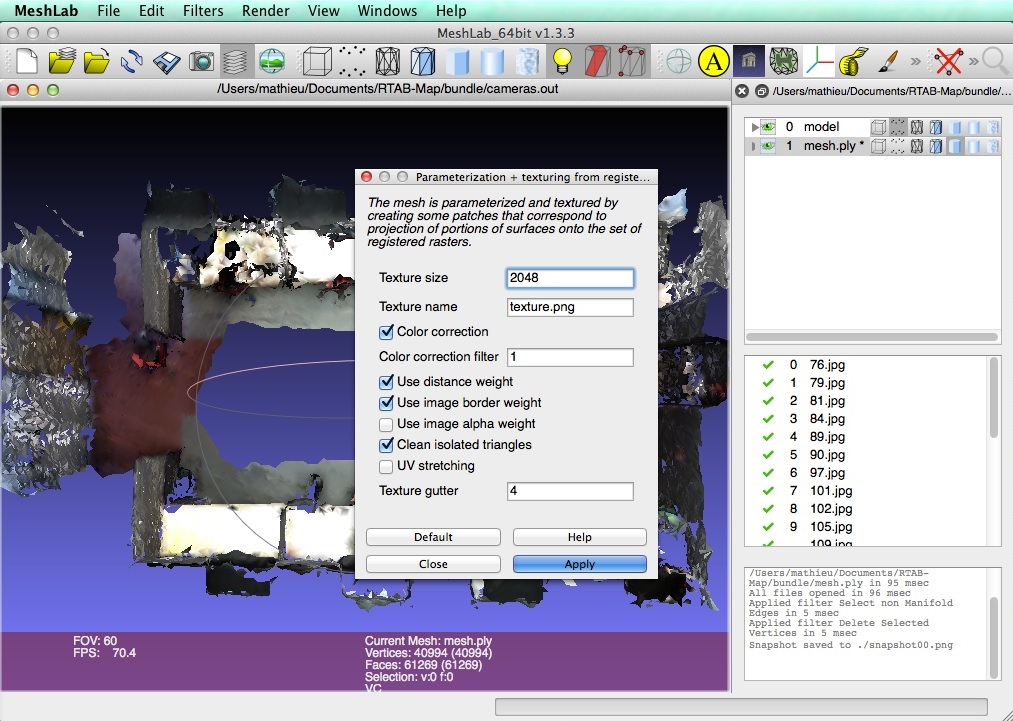
On the texture dialog, I just changed texture size to 2048 so have more resolution then press "Apply". Depending on your GPU, you could even create a larger texture (my laptop MeshLab crashes with a size of 4096 for example). You can see this video for more info.
-
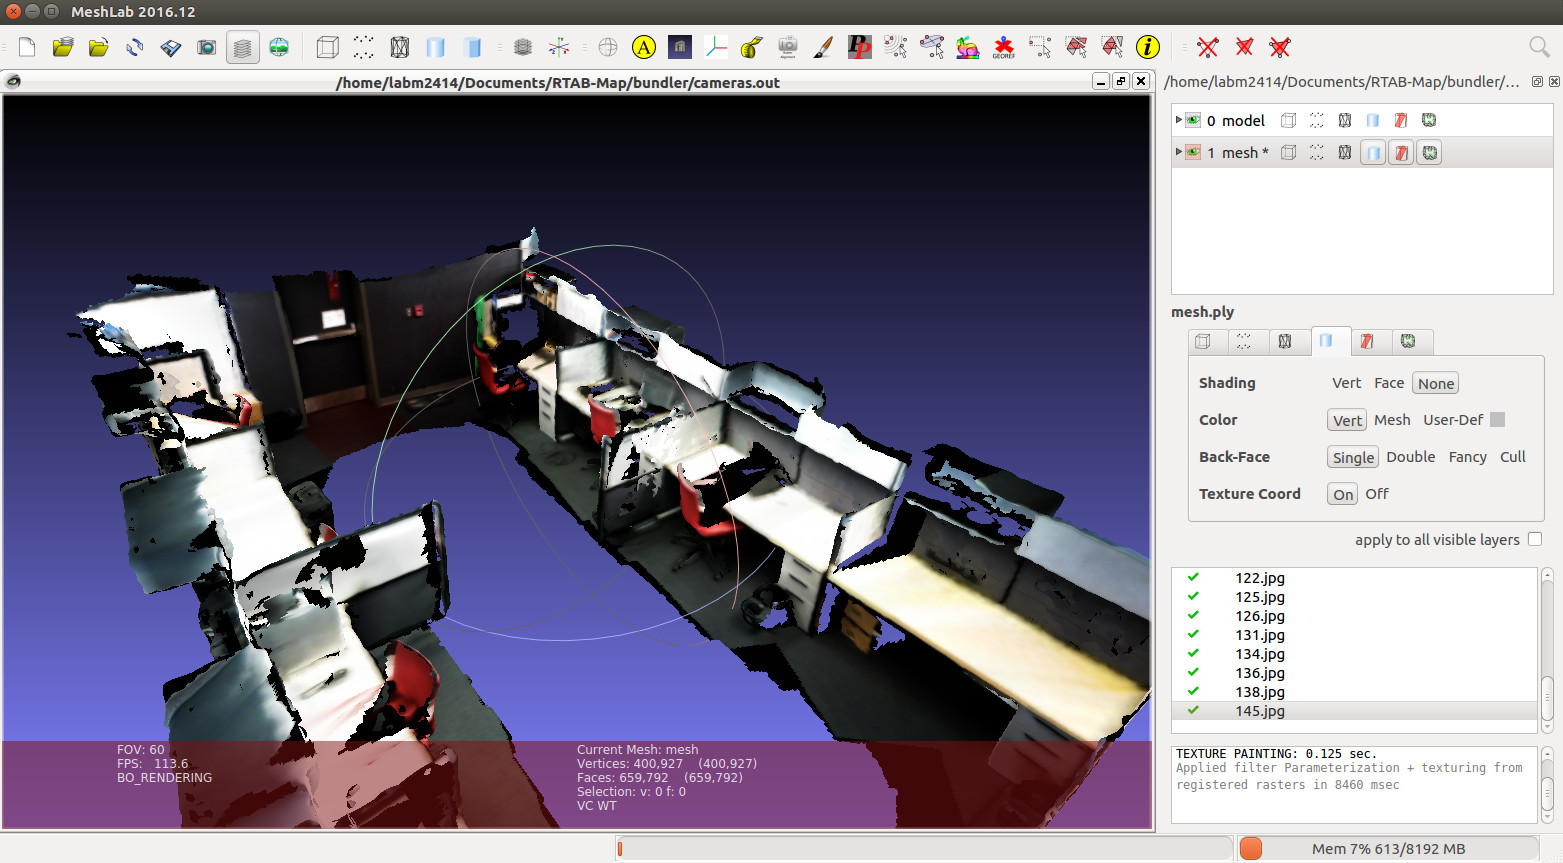
On latest MeshLab version, the texture is applied on the mesh directly when the generation is completed.
-
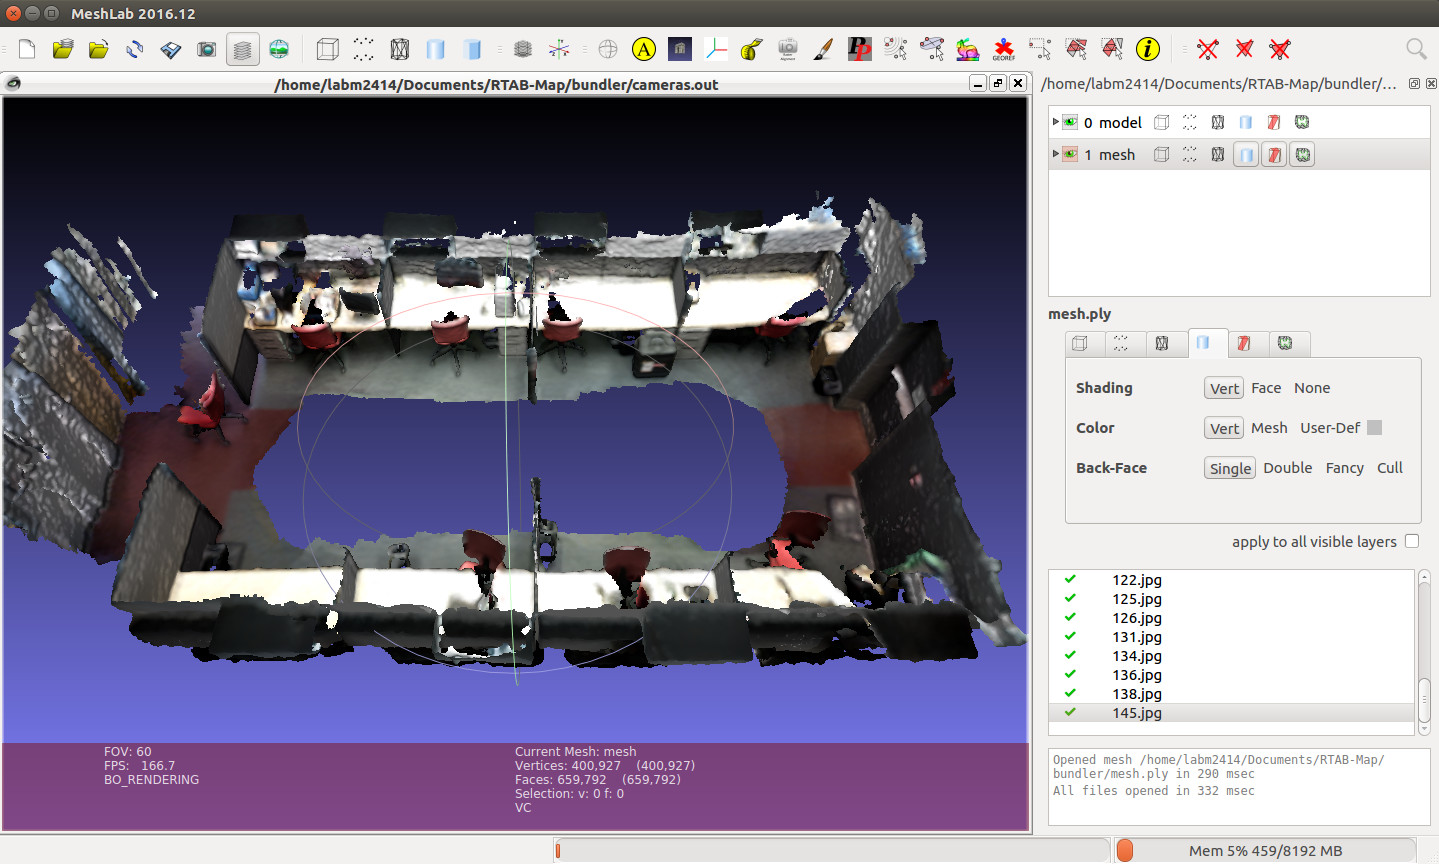
To correctly see the texture on the mesh, you can turn off shading (click "None" on right panel):
-
Here some results (without and with texture):
-
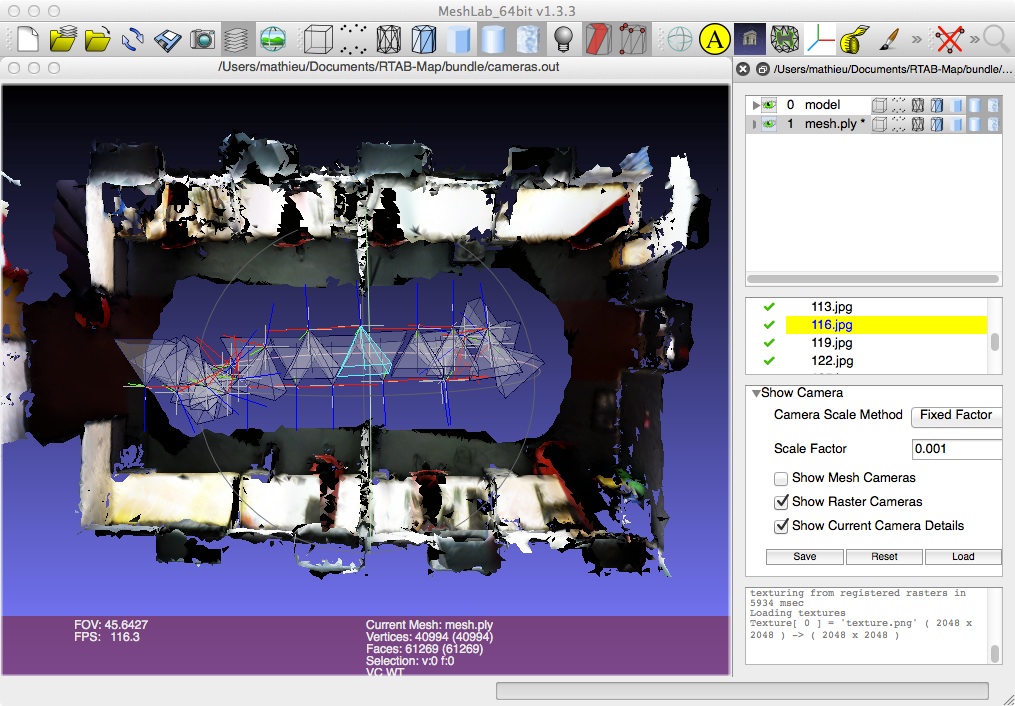
You can show the cameras by clicking Render->"Show Camera". You can see this video for more info.